I needed a voting system for this website which was compatible with serverless pages. I also wanted it to be zero-login which ruled out using a third-party plugin. The result was a serverless, zero database & zero login voting system using AWS. Here is how...
Visualising Results
An essential piece of this system was the ability to quickly visualise the results.
CloudWatch makes this easy. Votes are counted from the log files and displayed on a CloudWatch dashboard:

Overview / Architecture
The system consists of 4 parts:
- An HTML form
- AWS API Gateway
- AWS Lambda Code
- AWS CloudWatch (with dashboard)

Build HTML Form
First, you'll need an HTML form to register the vote. You can see a running example at the bottom of this article, but basically any form will do.
You will POST this form to the AWS Gateway. The Gateway acts as the "front door" for the Lambda serverless function.
Build Lambda Function
The backend of our voting system looks like this:

The Lambda function will process the incoming data and log it to CloudWatch. In this architecture, Lambda is our backend processing. Crucially though, Lambda functions only exist while they're executing.
Log in to AWS and go to Lambda. Click "Create Function" and "Author from Scratch".
Give your function a sensible name and set the Runtime to be "Python 3.7".
Leave everything else as-is and click "Create Function".
If everything works you should see the default Lambda code:
import json

def lambda_handler(event, context):
    # TODO implement
    return {
        'statusCode': 200,
        'body': json.dumps('Hello from Lambda!')
    }
Remove all that code and replace with something like this:
import json
import boto3

def lambda_handler(event, context):

    # "event" has all our info. Get the HTTP method.
    httpMethod = event["httpMethod"]

    # If it is a POST, get the eventBody JSON.
    if httpMethod == "POST":

      eventBody = json.loads(event["body"])

      pageURL = ""

      if ("pageURL" in eventBody):
          pageURL = eventBody["pageURL"];
          # Log this vote into CloudWatch
          print("VOTE {}".format(pageURL))

      return {
          'statusCode': 200,
          'headers': {
              "Access-Control-Allow-Origin": "https://YOUR-DOMAIN-NAME-HERE",
              "Access-Control-Allow-Headers": "Content-Type"
            },
          'body': json.dumps('Vote recorded.')
      }
    # Else HTTP Method is not a post, return the default.
    else:
      return {
        'statusCode': 200,
        'headers': {
              "Access-Control-Allow-Origin": "https://YOUR-DOMAIN-NAME-HERE",
              "Access-Control-Allow-Headers": "Content-Type"
            },
        'body': 'OK. Non POST used. Try POST instead.'
      }
The integration is not yet complete, but ultimately, the above code will execute every time someone clicks the "thumbs up" icon on the webpage.
First, the event is interrogated to retrieve the HTTP method. If it is a POST then we execute some code, else we return an HTTP 200 OK to the user with a message: OK. Non POST used. Try POST instead. We have thus defined that our endpoint should only process POST requests.
Your HTML form should
POSTdata to the AWS Gateway endpoint.
Access Control Headers
Two return headers are required by AWS and they add an extra layer of security: Access-Control-Allow-Origin and Access-Control-Allow-Headers.
Access-Control-Allow-Origin specifies that we will only allow traffic from the specified domain. This helps to ensure that someone else can't just copy and paste your HTML form and register fake votes from their domain.
The Access-Control-Allow-Headers header specifies that the only header we allow is the Content-Type header. The HTML form sets a Content-Type header of application/json.
POST Request
If the request is a POST then the code loads the eventBody as a JSON formatted object. Then we look inside the eventBody for a variable called pageURL. This maps directly to the JSON we're passing from the form: { "pageURL": "/somePage" }.
If a pageURL is found, we log that into cloudwatch using the print statement. The format of this log entry will be VOTE /myPage.
For example, if the form JSON read: { "pageURL": "/pageOne" } then the log line would be:
VOTE /pageOne
Test Lambda Function
Test your function with this data:
{
  "httpMethod": "POST",
  "body": "{ \"pageURL\": \"/testPage\"}"
}
Click "Test". When the function succeeds, view the CloudWatch log and you should see:
START RequestId: ***
VOTE /testPage
END RequestId: ***
REPORT RequestId: ***

Create Entry Point with API Gateway
The Lambda function has no way of being triggered yet. Fix that now by creating an API Gateway. The API Gateway will provide a URL and will be the access point to your Lambda code. The gateway is where the HTML form will POST data.
Edit your Lambda function and click "Add Trigger" button. Select "API Gateway". Choose to create a new API (HTTP API). Click "Add".
Back on the Lambda main page, scroll down and you should see a URL. Make a note of this.
Your HTML form will
POSTdata to the AWS Gateway URL.

Recap
If you've followed this far, you have:
- An HTML form configured to
POSTevents to the API Gateway URL. - Requests to the gateway cause Lambda to execute.
- Lambda then prints a log line into Cloudwatch.
The only bit we're missing is a dashboard to view the votes.
Build CloudWatch Dashboard
Within CloudWatch, go to Dashboards > Create.
When prompted to add a widget, just click Cancel.
You should now see a blank dashboard.
Click Actions > View/Edit source.
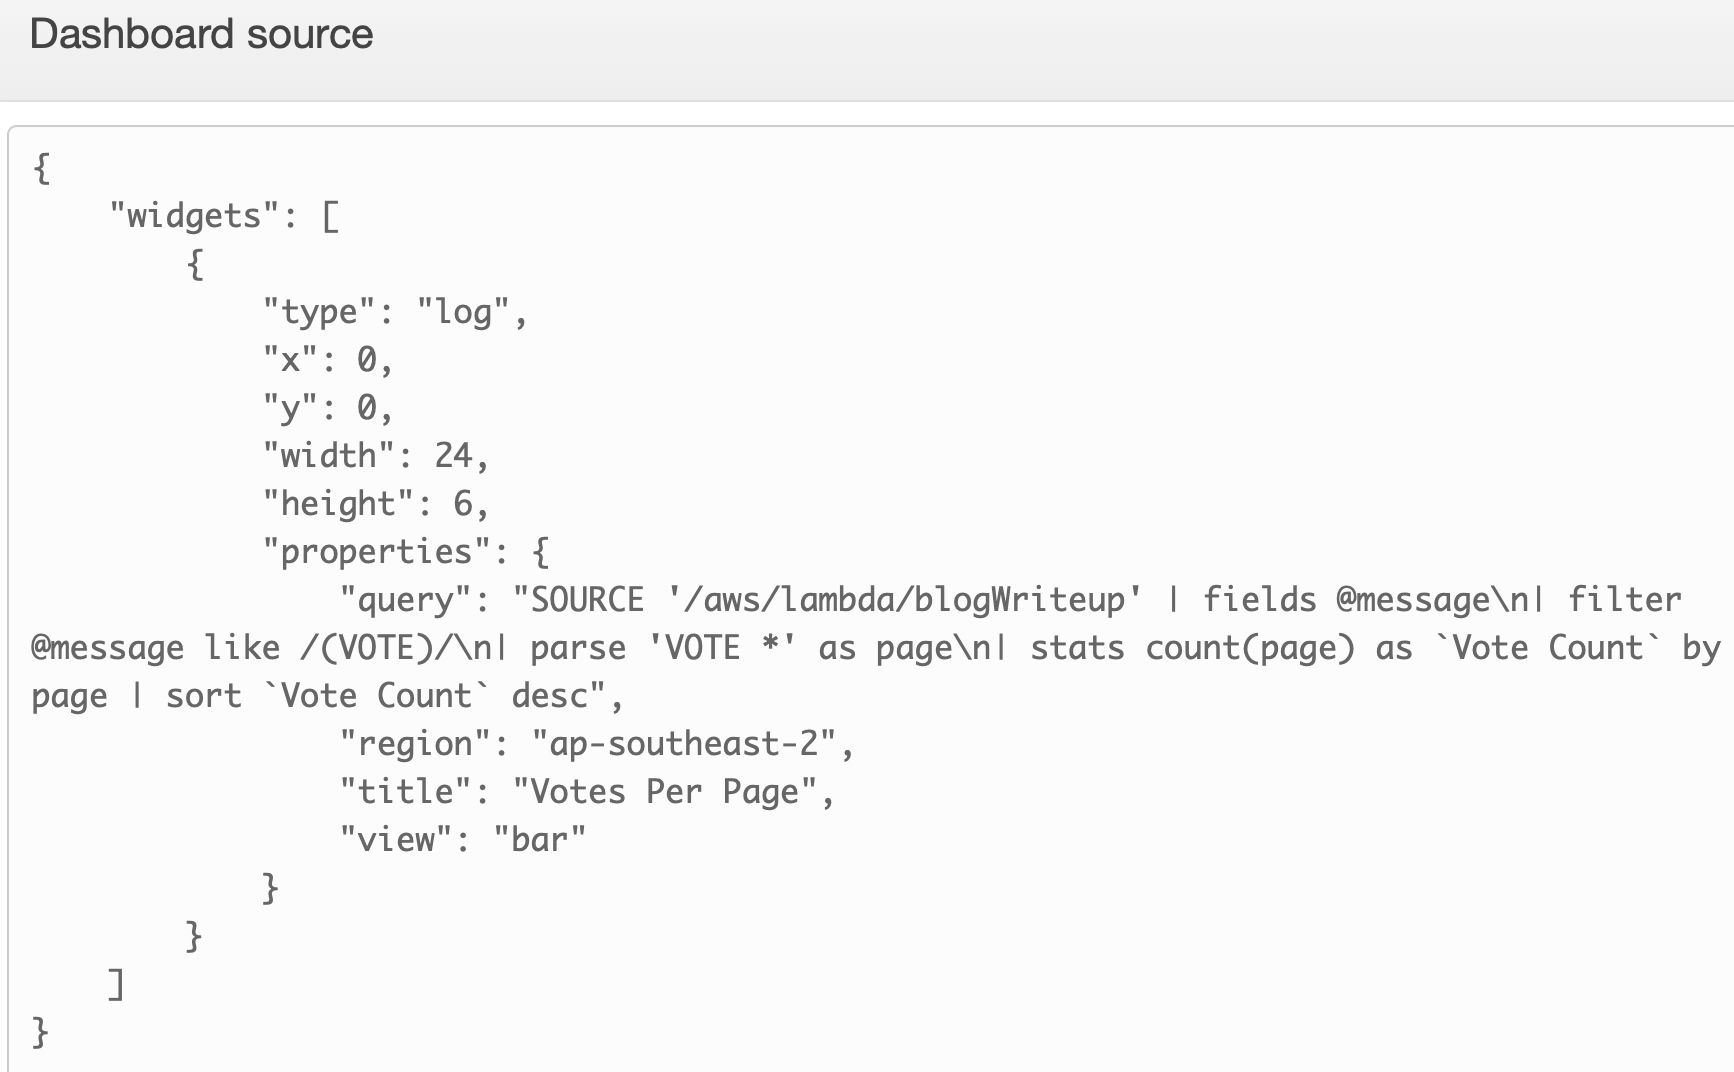
Remove the current content and replace with the following. Change the *** value to match your Lambda function name. Adjust the values to match the AWS region in which you're executing.
For example, if your Lambda function was called blogWriteup then it would be: SOURCE '/aws/lambda/blogWriteup'.
{
    "widgets": [
        {
            "type": "log",
            "x": 0,
            "y": 0,
            "width": 24,
            "height": 6,
            "properties": {
                "query": "SOURCE '/aws/lambda/***' | fields @message\n| filter @message like /(VOTE)/\n| parse 'VOTE *' as page\n| stats count(page) as `Vote Count` by page | sort `Vote Count` desc",
                "region": "ap-southeast-2",
                "title": "Votes Per Page",
                "view": "bar"
            }
        }
    ]
}

Save your dashboard.

Summary
Congratulations. You now have a serverless, zero database, zero infrastructure, zero login and zero cost voting system.
If you'd like to test this, click the thumbs-up button below. Also click the thumbs-up button if you'd like a Youtube walkthrough of this post.